So honestly I was going to give up on the blog because I'd convinced myself that I was the only person reading it. And even I quit reading it. My wife lost the link about a dozen times and I have been doing a build thread on Garage Journal where the members were more enthusiastic about the house than my own family so I just kept updating that. Well, it seems that someone in MN is watching it and so I've been guilted into updating it.
The other problem I have with the blog is the lack of control over the layout and the photos. I'm a photographer and I want control to show off the photos and this blog format doesn't allow that. But enough about me...
On with the show.
Bathroom. We have but one so I wanted to make it nice. One of the things about an older house and something I struggle with every day it seems is things not being level. Things sag over time - something I need not remind anyone over 40 - and so care needs to be taken to not just slap trendy outfit on a sagging frame. It looks silly on people and sad on houses.
The other thing we did was go back to the traditional layout but with a much larger, deeper and nicer tub. We want to take advantage of the advances made since the 50's but keep the spirit.
 |
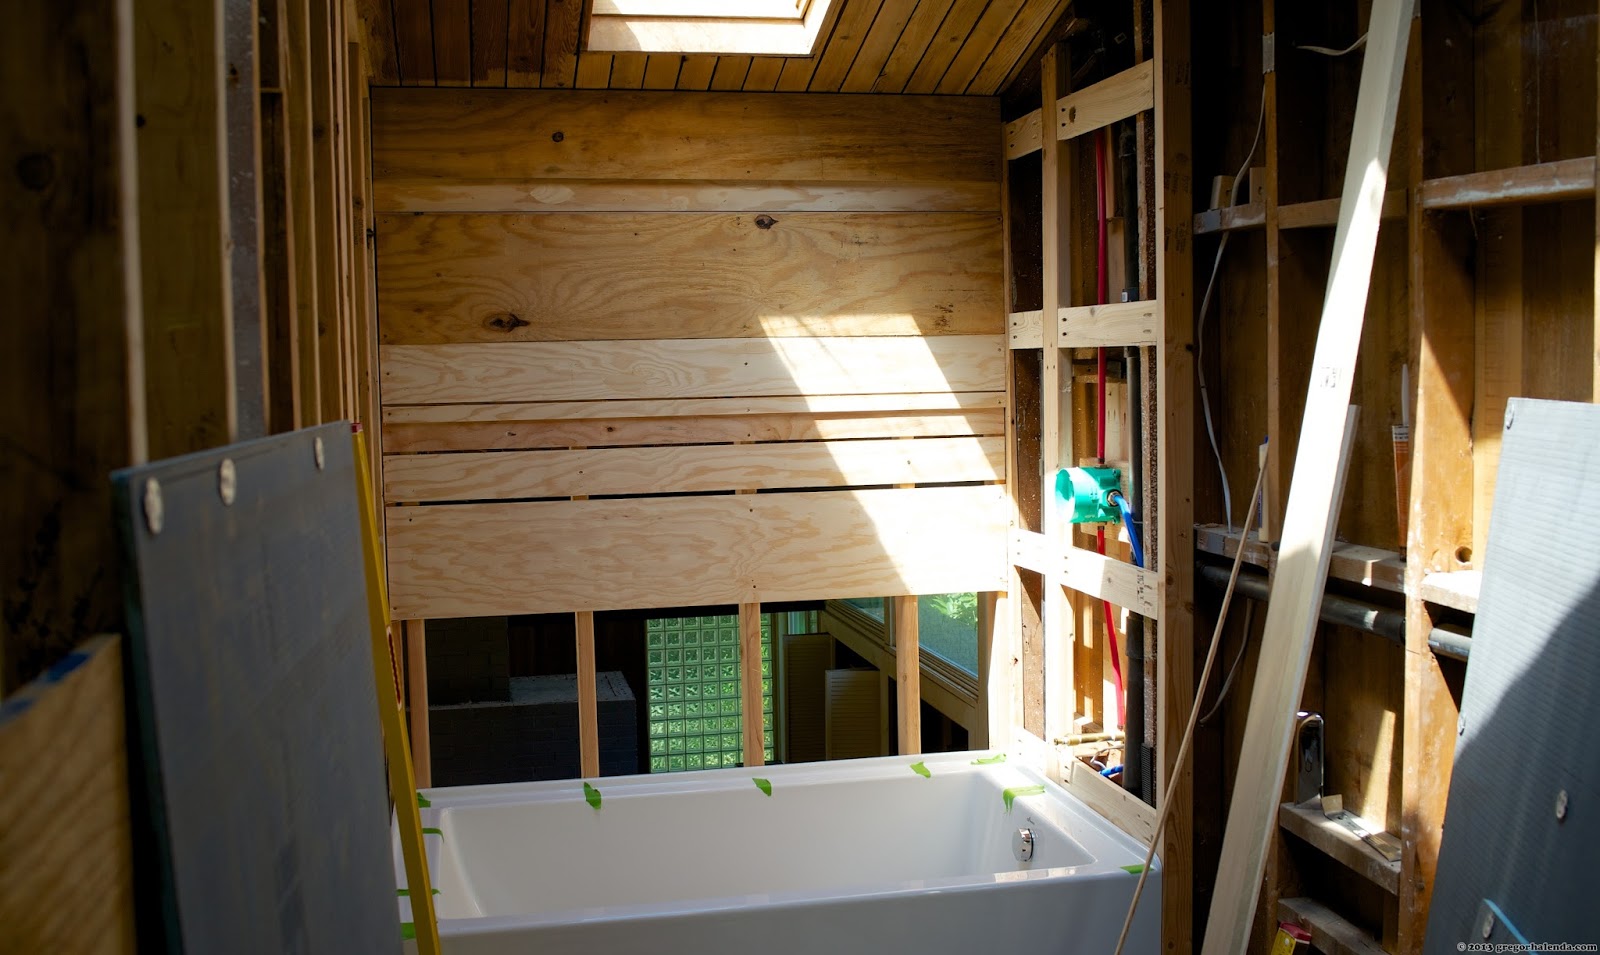
| The tub is set, leveled, glued and back filled with foam underneath. All that plywood is various sized shims to level out the back of the tub. |
 |
| Here' I'm testing out the tile coursing. It almost fits. |
 |
| The floor is 3/4 ply subfloor, 1/2 glued underlayment, 1/4 Hardibacker set with thinset and finally we get to the tile. |
 |
| Here I'm experimenting with the tile courses for the tub. Note the short legs at the tub - that is the area where the tub meets the wall. This, I learned, is wrong. |
 |
| This is right - extending the tile past the tub 6" protects the "legs" where 90% of all tubs leak. Thankfully someone reading my thread pointed me to a plumbing blog where I was set straight. |
 |
| Now all the Wedi board is in place. This stuff is amazing. It's 1/2 foam with a cement layer on the front and back and when used with their sealant it's completely strong and waterproof. |
 |
| I don't like the sound of hollow walls - it sounds... hollow. So, despite the fact that it is meaningless as far has temperature we are insulating all the interior walls for the sound. |
 |
| This is construction foam. The entire underside of the tub is additionally supported and insulated by this foam. My friend Jacob gave me this tip as it helps make the tub more substantial feeling and eliminates any flex. A small detail but one that I will appreciate. |
 |
| Sheet rock in and I got a visit from the new tubs future user. She approves but has kept asking about her bunk bed. |
 |
| This is the Nuheat radiant floor heating mat. It's set in thinset as well. The small space of the bath was perfect for a stock size mat which will keep the nice limestone tile warm in the winter. |
 |
| And the tile goes in. We went with a large tile in a standard offset. |
 |
| And the floor is set. Need to seal it and then do the epoxy grout next. |


I'm reading and looking with awe and wonder. I just have Halenda communication genes.
ReplyDelete